This tutorial was originally published in Nonsense II, a Cincinnati-based zine put together by Bryn Hastings (details would go here)
Some people like loops made with precision using $50 Craigslist looper pedals, others like to stick their hand in the aural Halloween mystery box called tape manipulation and see just what comes out of their jukebox. Making a tape loop with a cassette is cheap, simple, and meditative (read: frustrating). I'll get you going with the basics and leave it up to you to find something worthwile.
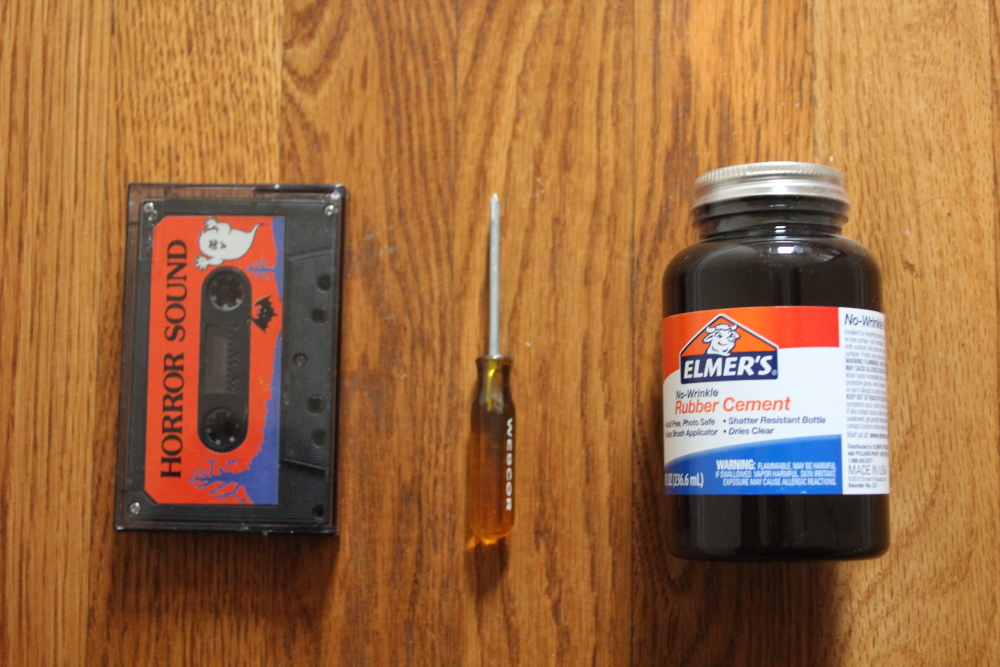
- One cassette, spooky not required. Make sure that the cover has screws.
- A small screwdriver
- Rubber cement (any adhesive will do)
- Scissors or other sharp blade
- Tape deck/ghettoblaster/1990's car stereo
-
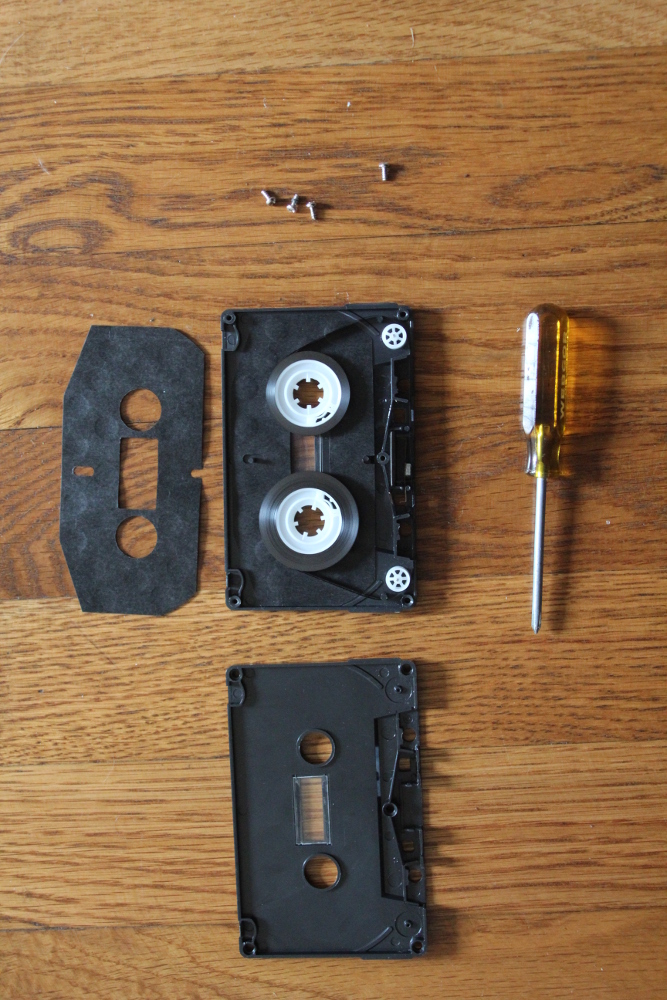
Take the screws out of the case of the cassette. Make sure not to lose them when you set them aside or they will end up in your foot or your dog's shit in a few days.
Gently lift the cover off and remove the paper tape protector if there is one. If you knock any of the little plastic bits loose, make sure to seat them back where you found them. There are a several bits that like to fall out so I would definitely advise against the consumption of caffeine or alcohol for this or any following steps.
-
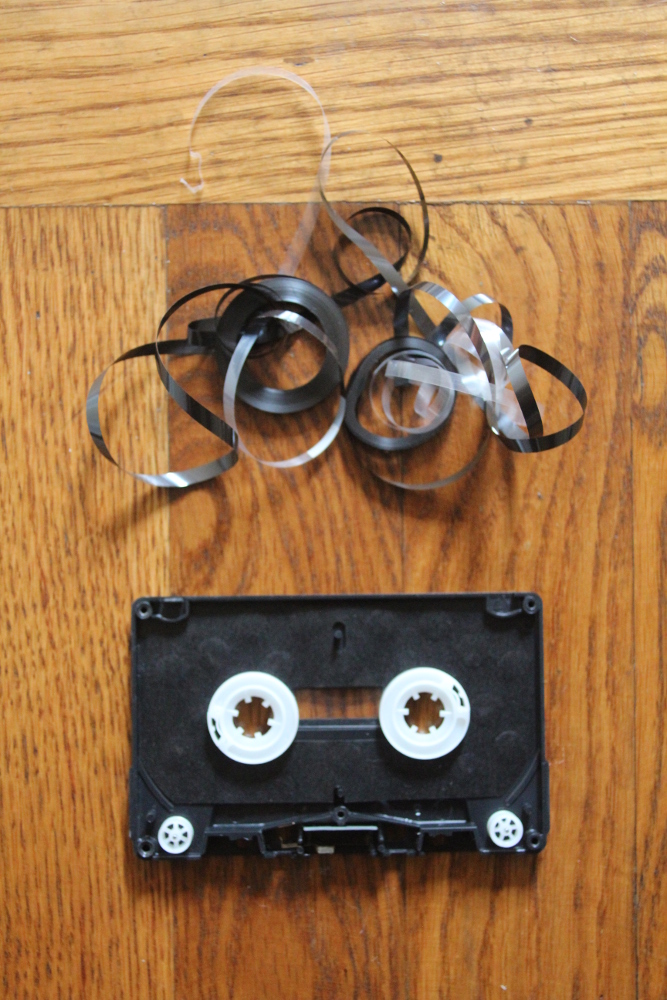
Remove the tape! Warning, this is probably going to fuck up the tape, but if you're making a tape loop, you've hopefully assumed that risk already. Plop the tape off of the cogs and set it aside. You may want to pop the small plastic starter section back into the cog, but it doesn't really matter.
Select a nice length of tape from the pile (or any cassette tape for that matter. Cut one end and lead it in a loop that encloses both cogs, and the plastic leaders at the bottom. It'll make a rough trapezoid (remember those things from geometry class?). I never try to measure to a standard unit length. It always throws me off.
-
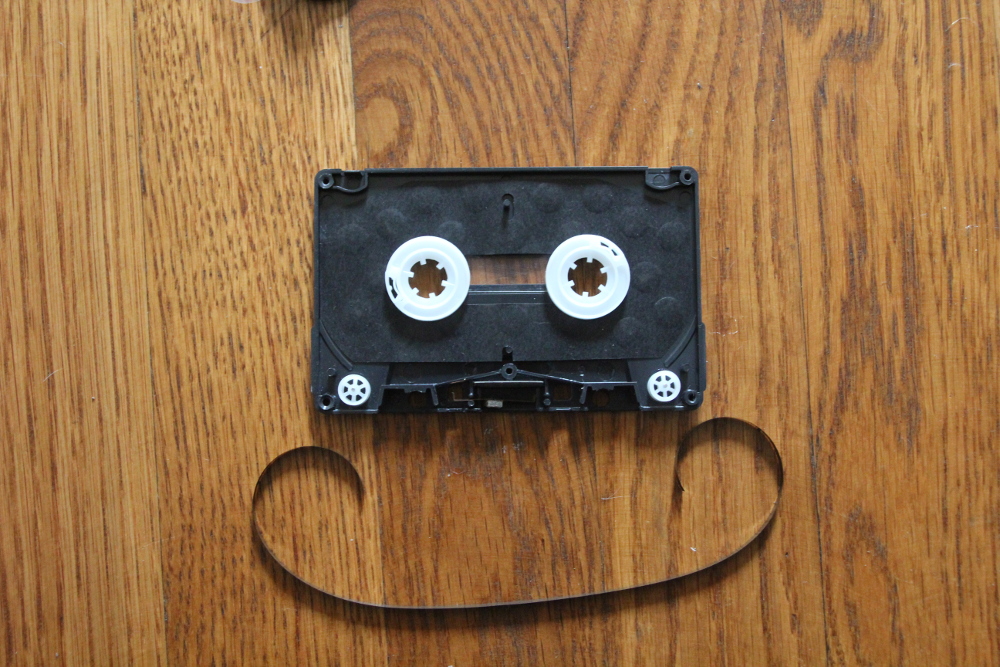
Anyway, you should now slice a length that seems to not be too tight or too loose, but allows for a centimeter or so of slack for gluing. Take your adhesive and put a dot on the end of the tape section. Fold it around to make a loop. Go crazy and turn it into a Möbius strip if you want. It probably won't work, but I've gotten weirder things to make a pleasant sound.
Now wait. Give your loop some time to settle. I usually give it a night to think about what it will play for me before I slide it into the cassette. This is probably the wost part. After you have the dried loop, you have to guide it in between the plastic guards at the bottom and the foamy nib-teeter-totter all while warpping around both spoolers and the cogs. If you need to, you can install more plastic pulleys in the cassette body to make the tape tauter. But be warned, taut tape likes to be snap and loose tape likes to be eaten. You're working with a dead medium so don't be heartbroken.
-
Toss the cassette cover back on and screw it in, being sure that your tape moves freely when you touch the bottom. Slide that monstrosity into your favorite tape deck and press play. If you're lucky, it'll play some weird noises lacking context. If not, your tape deck has a tasty meal you get to fish out of its throat.


- If you press play and it makes a sort of gusty wind noise, stop the tape and play it again. Flip it over and see if it works. No? It's probably too tight. Start a harsh noise wall project.
- Spools moving but tape isn't? It's probably too loose. Push the tape in at the bottom or try a different tape deck.
- Lame sound? Record over that shit, dude!
You can hear both sides of the results of my example tape here
Tune in next time for 8 track tape loops, reel-to-reel tape loops, and 8mm film loops featuring my roommates clawing their hair when I rev up the projector at 2am.